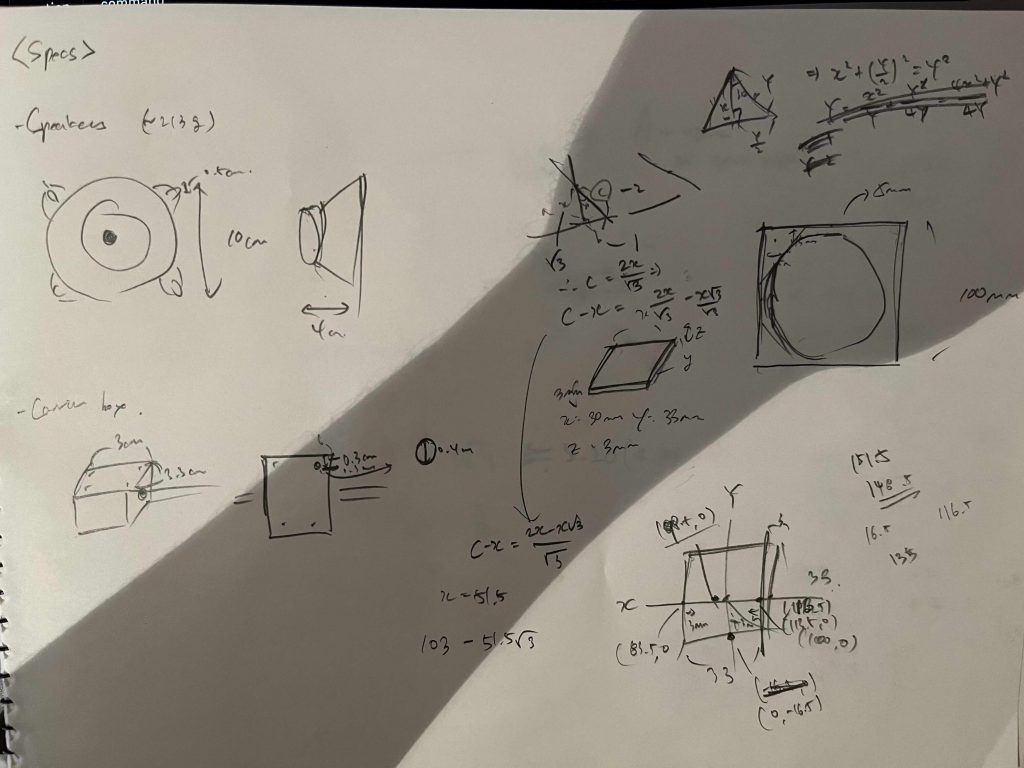
First, I decided to quickly model and print the connecting parts between the carrier box and the speaker, since I needed to test their strength and functionality. To ensure accurate dimensions, I measured the specifications of both the carrier box and the speaker. The thickness of the connecting part was set to 3 mm, but depending on the strength test after printing, I might make it thicker later.
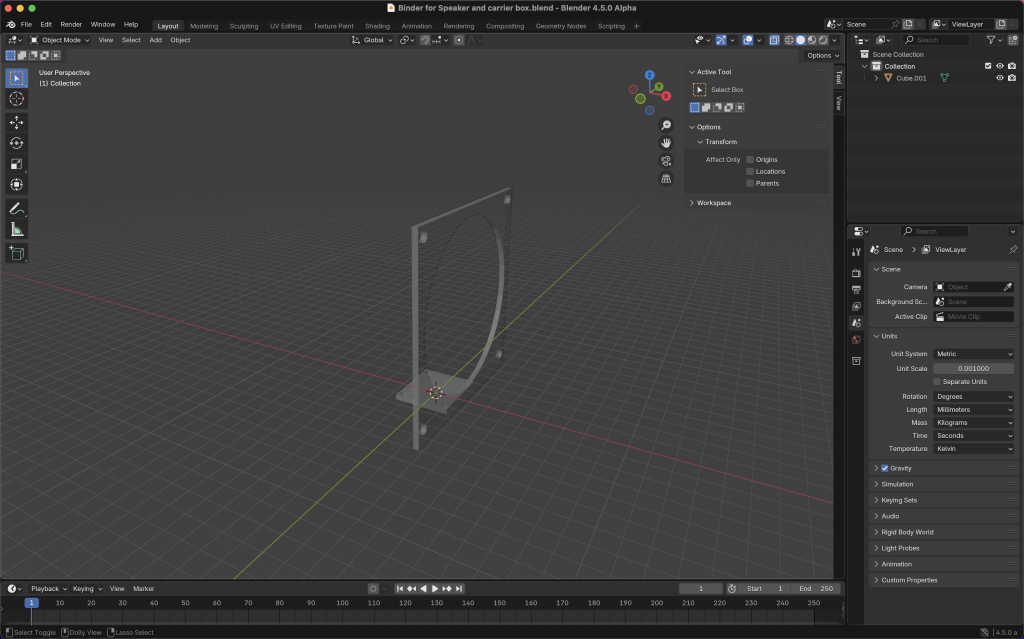

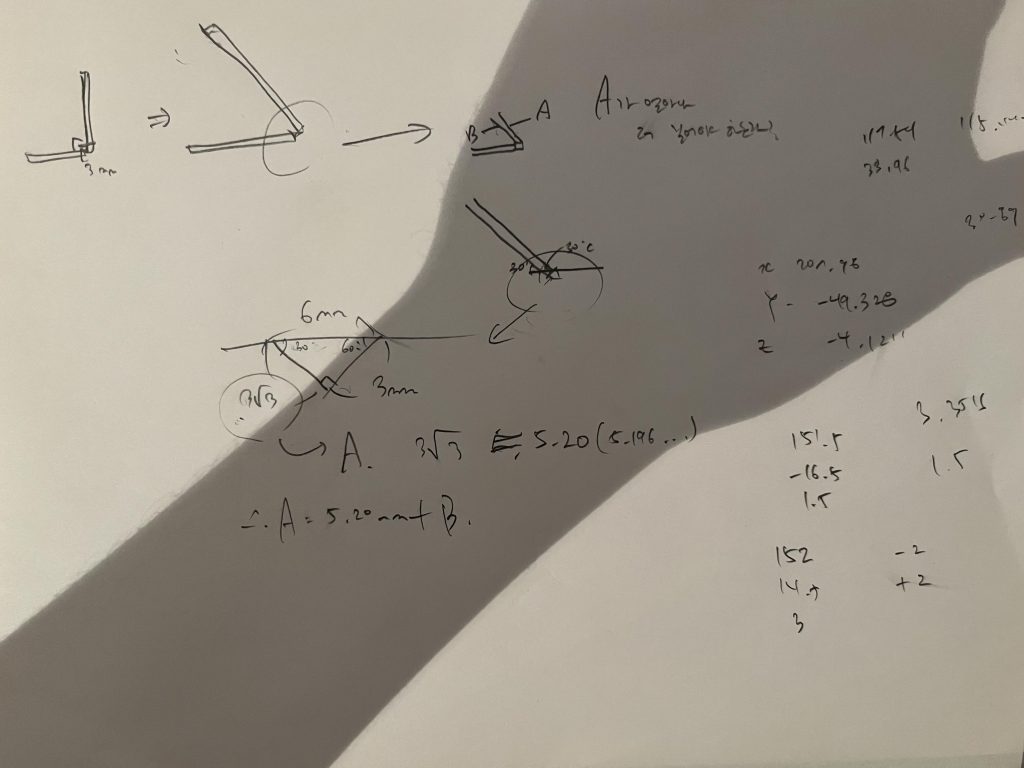
For the modeling process, I used Blender. I created two versions of the model: one that connects at a right angle, and another that connects at a slight tilt. Each model was designed to match the previously measured dimensions of the parts, with a small amount of clearance at the joints to allow for easier fitting. Since this was my first time doing 3D modeling, it took a bit of time to learn how to use the software, but because the overall shape was not too complex, I was able to complete it relatively quickly. However, the tilted version took longer to make, as connecting the angled plate to the base required some mathematical calculations. Using trigonometric functions and the Pythagorean theorem, I was able to determine the correct alignment for the tilted section.
The completed model was exported as an .stl file and opened in Ultimaker Cura for 3D printing preparation. It’s currently being printed, and I plan to pick it up tomorrow to check its strength and make any necessary adjustments afterward. Depending on how the panels are connected, the neck portion of the connector might need to be extended, so I plan to temporarily fix all the panels with wooden boards and reconsider the connection method before remodeling.