Now that I’m done testing, I have to do a lot of things quickly to actually set up and play. First of all, this time I had to shorten the sequence I made before because the battery problem limited the playing time, insulate it to prevent unnecessary noise and short circuit, and organise the installation space to prepare and install the cables to actually hang the speakers.
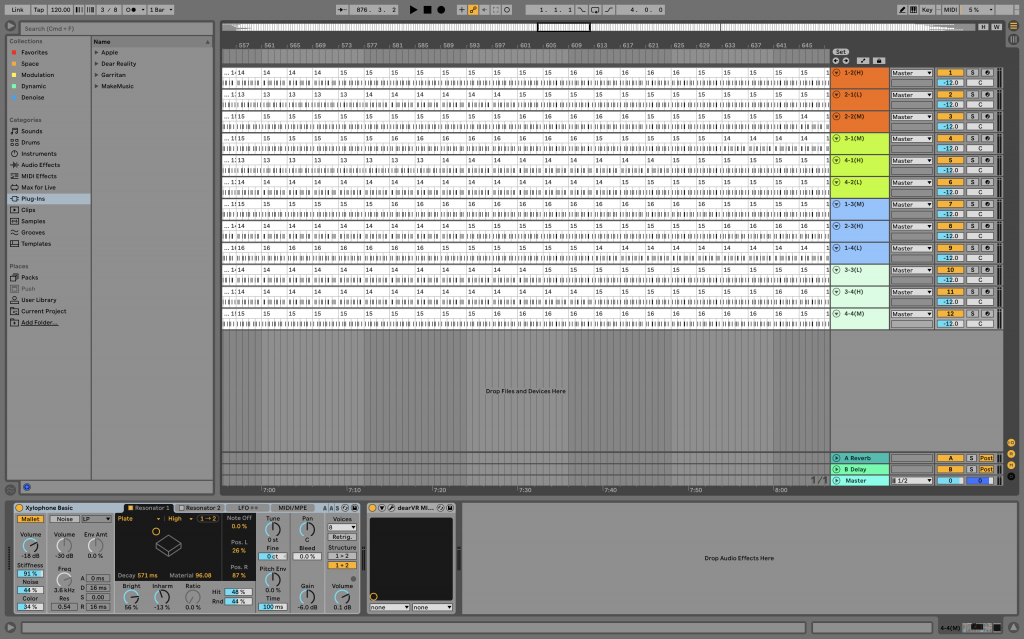
First of all, we had to shorten the sequence due to the battery capacity problem (there were possibly many problems, including relay coil overheating and speaker overheating). There were two ways to solve this while sticking to the idea. The first was to halve the number of repetitions of each rhythm, and the second was to halve the number of rhythm types. The first option was the one I was more inclined to choose, but I decided to go with the latter because the rapidly repeating pulse signals of the later rhythms could overheat the speakers or relay modules. The 16th rhythm, which is half of the 32 rhythms, is a rhythm constituted three notes(the 17th rhythm is four-note rhythm), so it did quite make sense, and I rearranged the sequence in the same way as before, randomly repeating each rhythm from rhythm 1 to rhythm 16, then returning to rhythm 1, for a total length of about 16 minutes.
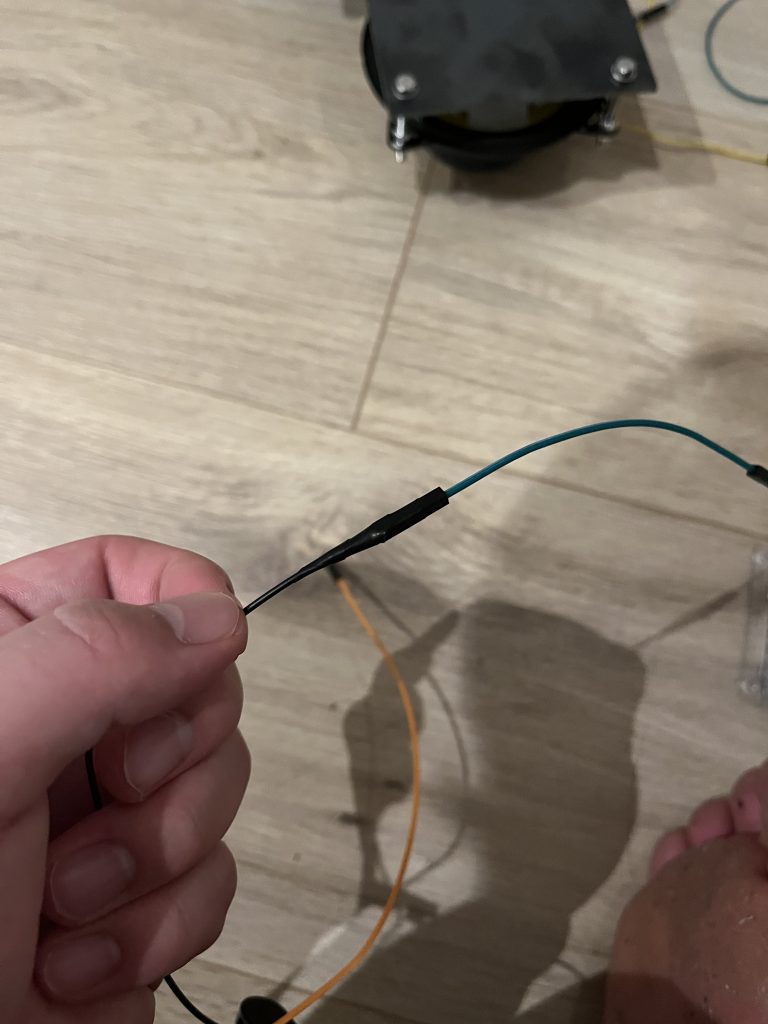
The next step was to insulate the jumper cables, wrapping the male to male and female to male connections with insulating tape to prevent short circuit or noise. During the previous test, the wire hanging from the positive side of the speaker was caught on the coil of the speaker, causing a short circuit and smoke, which could melt the coil and cause a fire. To prevent this, when connecting the copper wire to the actual connection, we will wrap insulation tape around the area where it connects to the speaker. Also, since the short above was caused by adjusting the distance between the speaker and the steel plate, I adjusted the distance while testing the battery today, so that no further adjustment is needed during the actual installation.
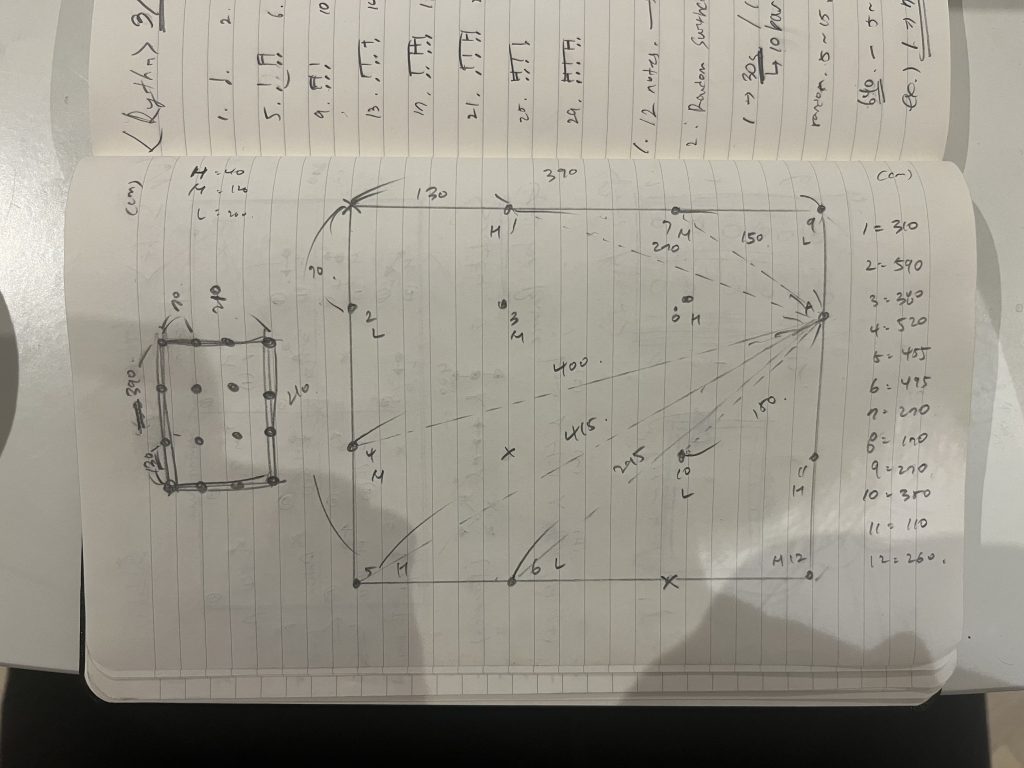
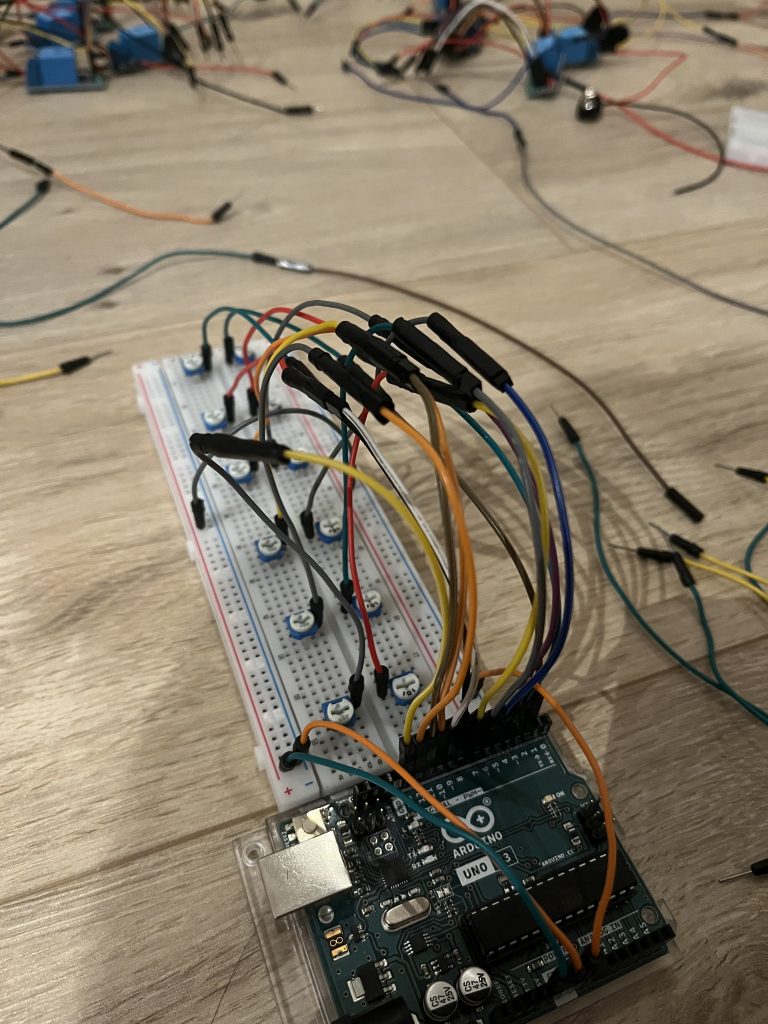
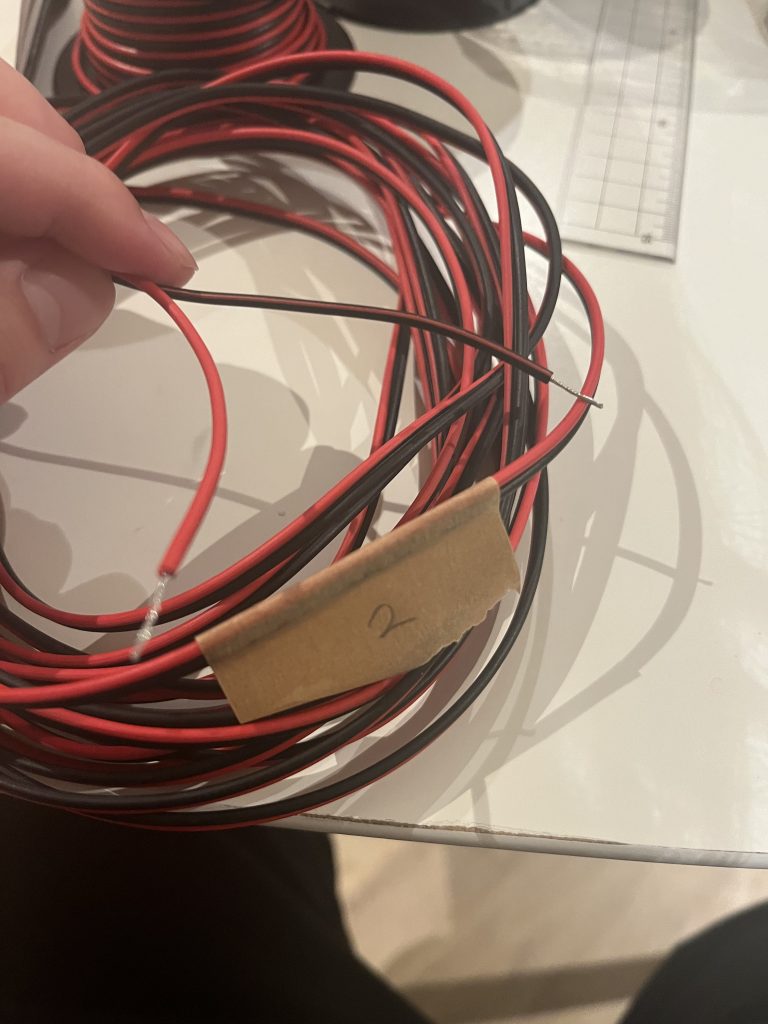
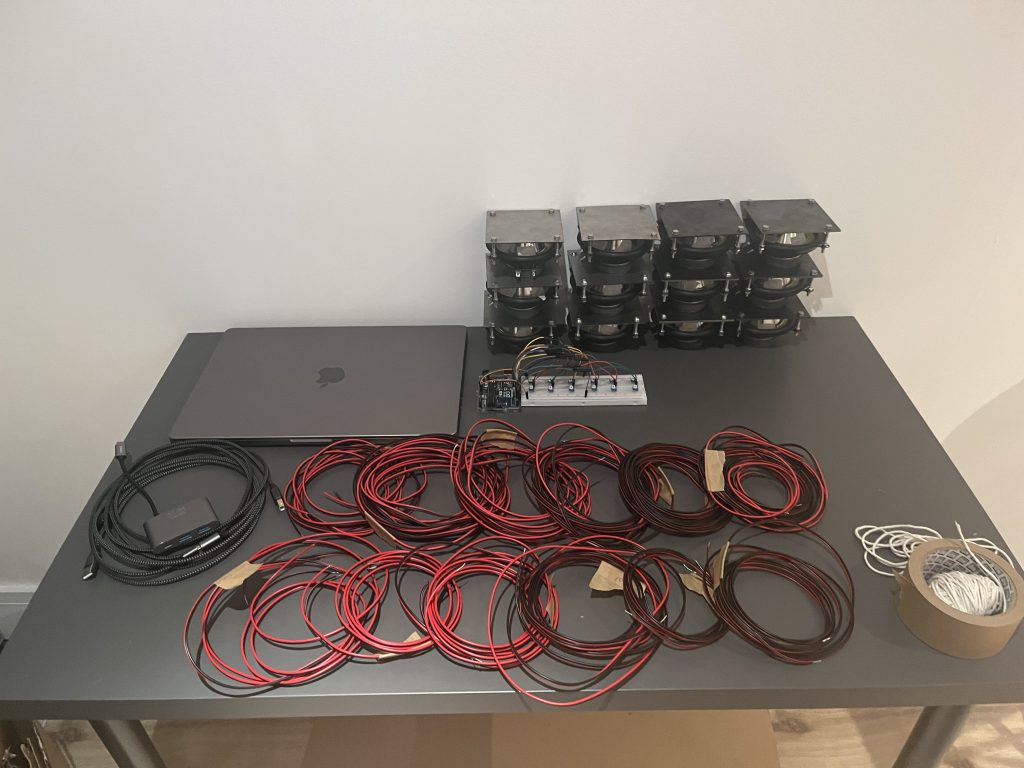
Finally, I measured my footprint, calculated the length of wire I would need, and made it. I started by measuring in my living room, where I’ll be installing it, and using the ceiling light as a guide. It was about 400cm long by 200cm wide, and to make the calculations easier, I set it to 390cm long by 210cm wide. I divided the room into thirds horizontally and vertically, and placed the speakers in the middle of each third. With this setup, the speakers were 130cm apart horizontally and 70cm apart vertically. I decided that the Arduino would be placed in the middle of the room, yet, because there is a wire connecting the Arduino to the computer, and it can be obstacle, I made decision to place the Arduino at the edge. The wire that the speaker will be connected to will run vertically to the ceiling and then to the relay module and breadboard that will be attached near the Arduino, so I calculated it as a straight diagonal distance, using Pythagoras’ theorem (which states that in a right triangle, the square of the base plus the square of the height is equal to the square of the hypotenuse: x^2 + y^2 = z^2). Since there is also a distance between the ceiling and the speakers, we set the high speakers to 40cm, the mid speakers to 120cm, and the low speakers to 200cm, and then added the previous values to calculate the final length of wire required. After the calculations, I took the copper wire and cut it to the lengths I had measured, stripping each end with a box cutter and taping it to the speaker it would be connected to so there would be no confusion.
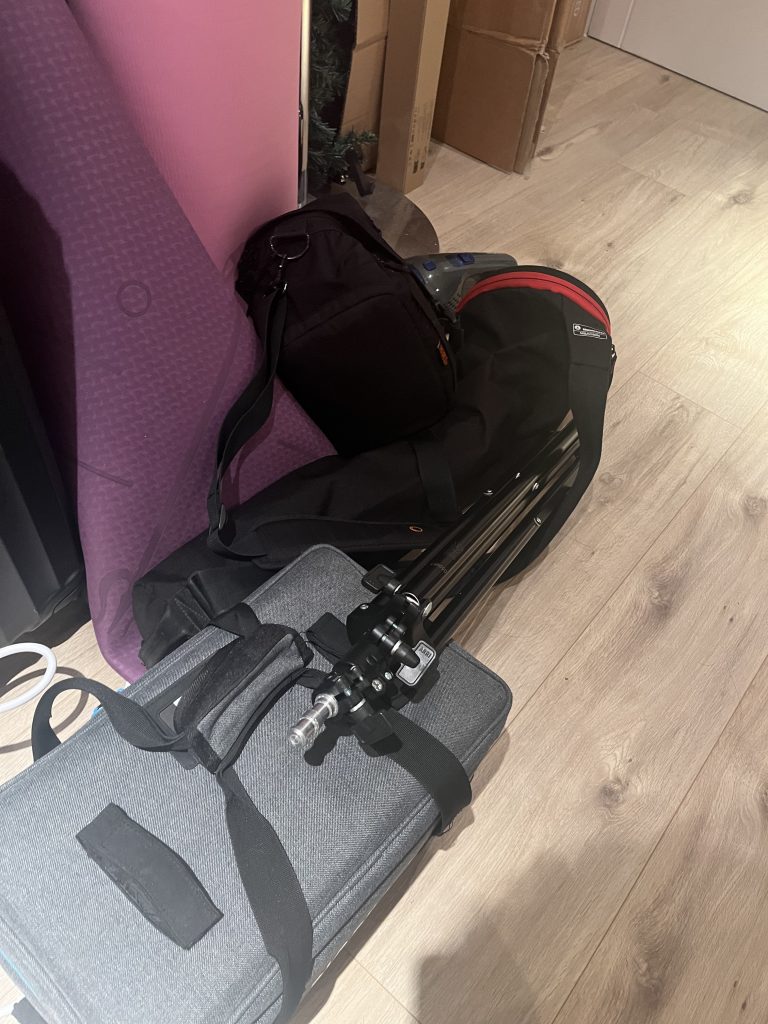
I then simply marked the points where the actual speakers would be attached with tape to facilitate tomorrow’s installation, and set up a desk in the living room with the supplies I would need for tomorrow’s installation (except for the batteries, which I left in the room as they needed to be charged). I’ve borrowed the camcorder, lights, and tripod from the school’s Kit Room, so if I have time tomorrow, I’ll move all the furniture in the living room out of the way, install the speakers and circuitry, and do a quick check of the screen and lights before proceeding.

I have a lot of batteries to charge (8 x 12 / about 4 hours per charge), and I need to shoot immediately tomorrow, so when the batteries I’m charging are done, I’ll swap them out, go to sleep, and wake up about 6 hours later to charge the next batch. Hopefully all goes well until tomorrow’s installation.