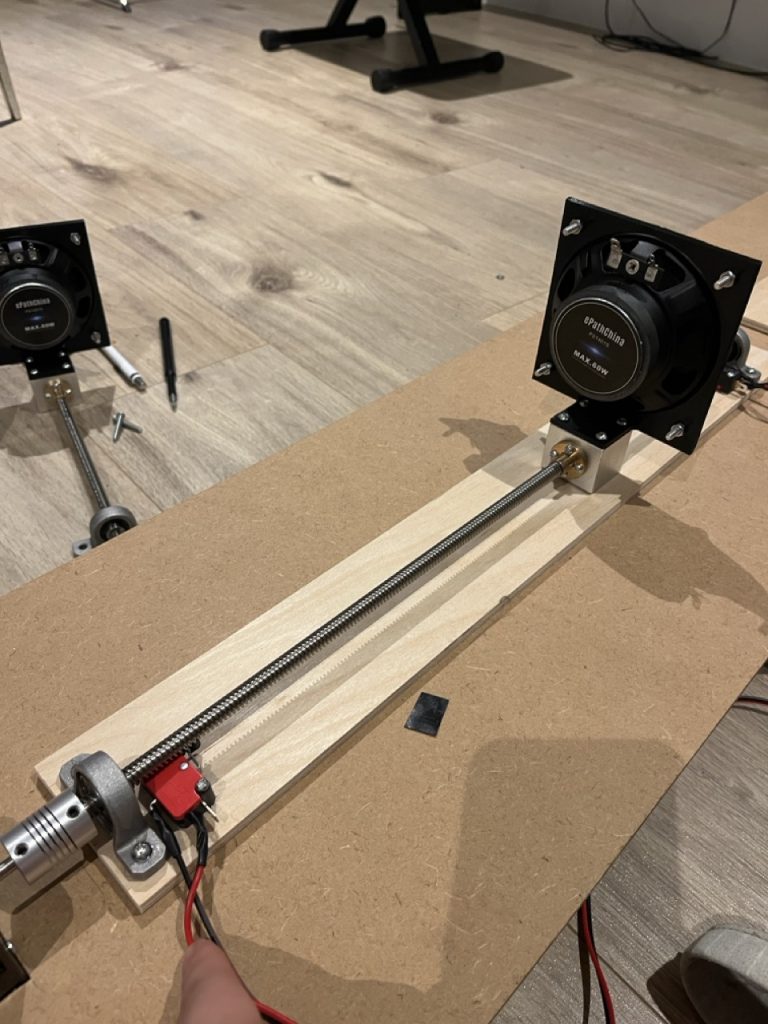
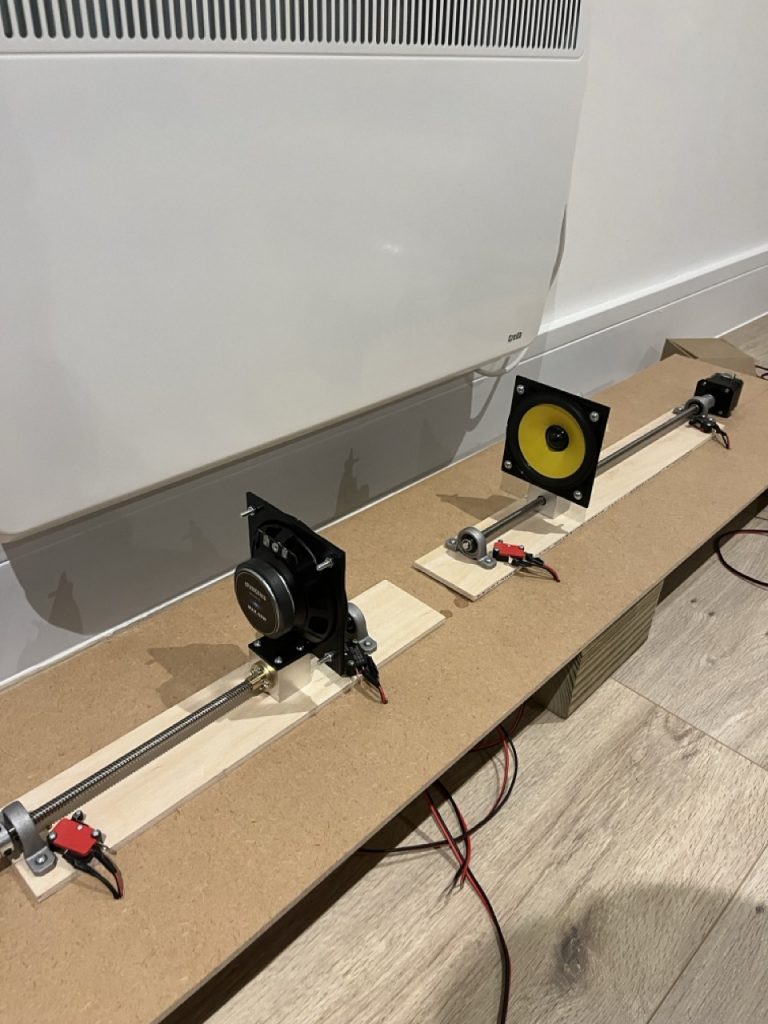
I tried assembling all the components onto the wooden board I prepared earlier. The most important part of this phase was checking whether the limit switches operated correctly. As planned, I first mounted the motor and the rail onto the board, then attached the speaker as well. I positioned the limit switches right in front of the rail brackets so that the carrier block would press them when it reached each end.
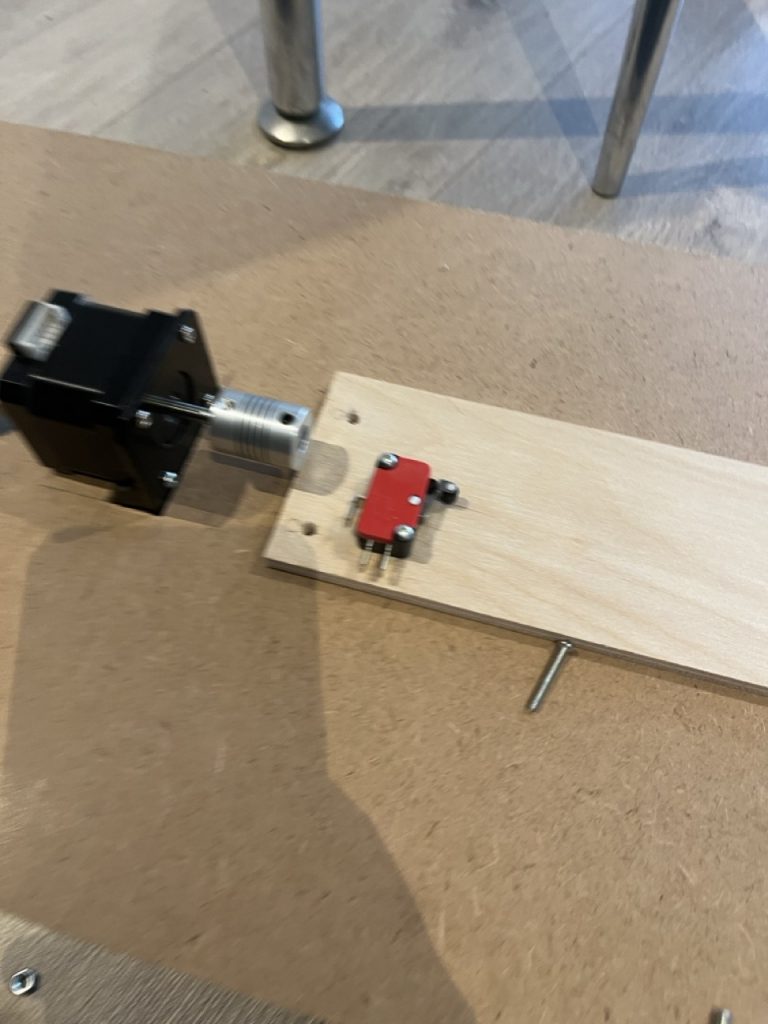
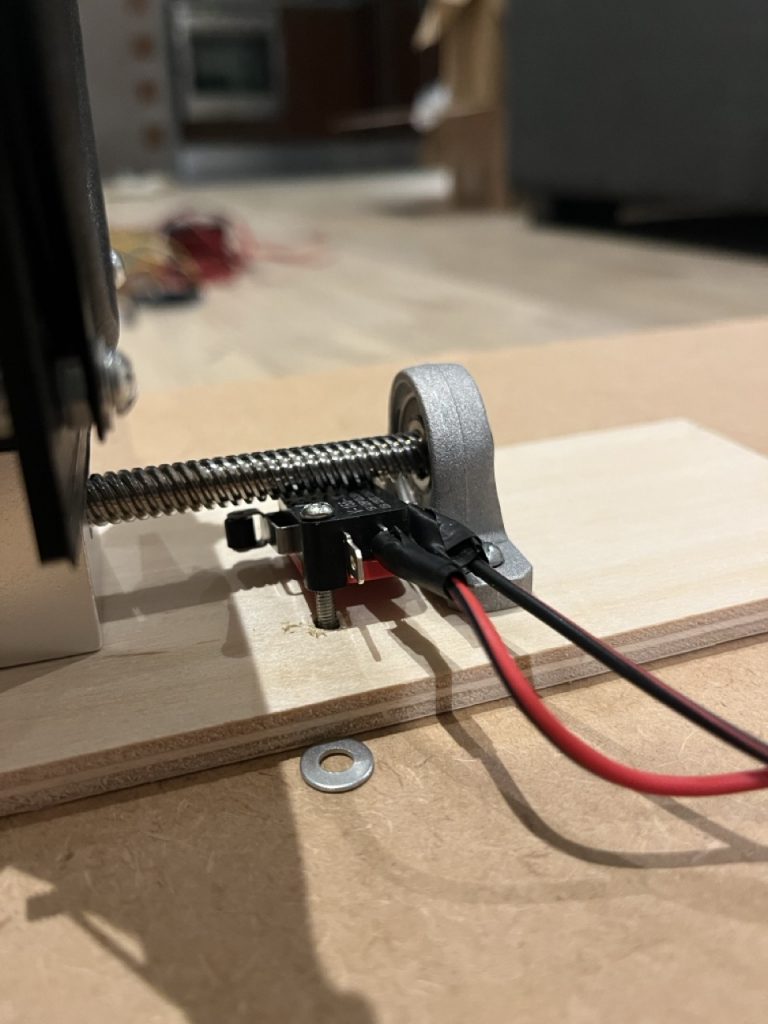
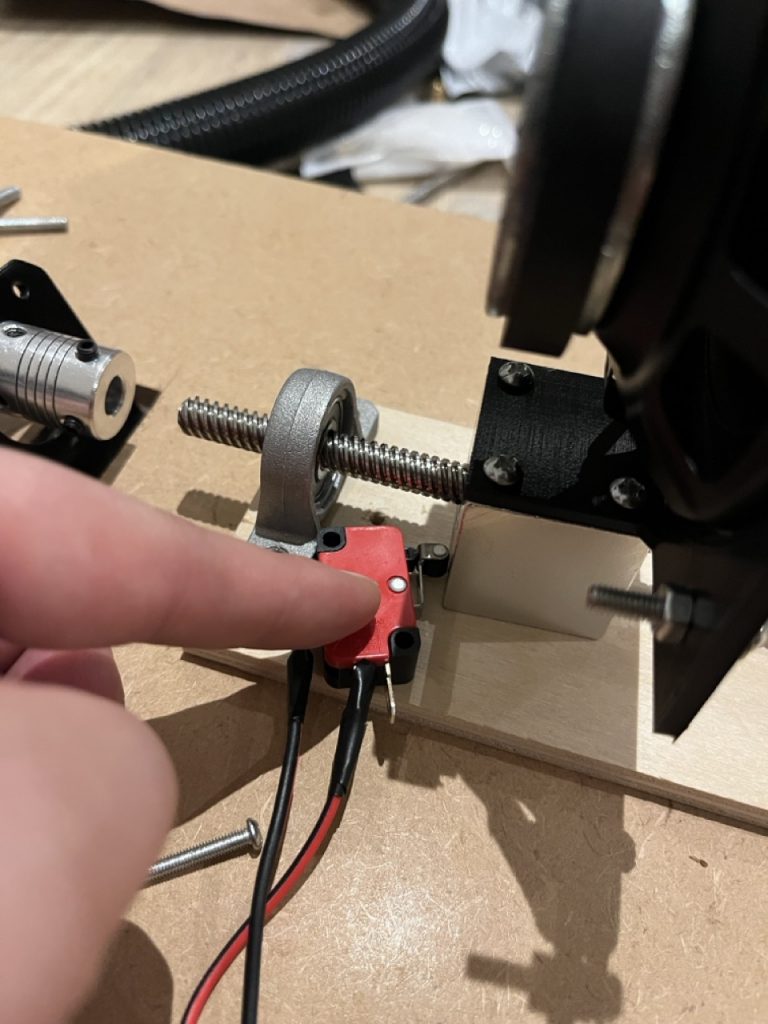
However, a problem occurred: the head of the bolt used to fix the limit switch was touching the rail and getting stuck. This would put strain on both the limit switch and the rail, and eventually cause extra load on the motor. I considered lowering the height of the switch mount or slightly raising the height of the rail, but each option had clear drawbacks. Then I realized that placing the limit switch at a slight angle and changing its mounting orientation might solve everything. Doing this would make the installation much easier and prevent contact with the rail. But the switch angle must be adjusted carefully—if not, the carrier block would collide with the switch body before pressing it properly, making normal operation impossible.
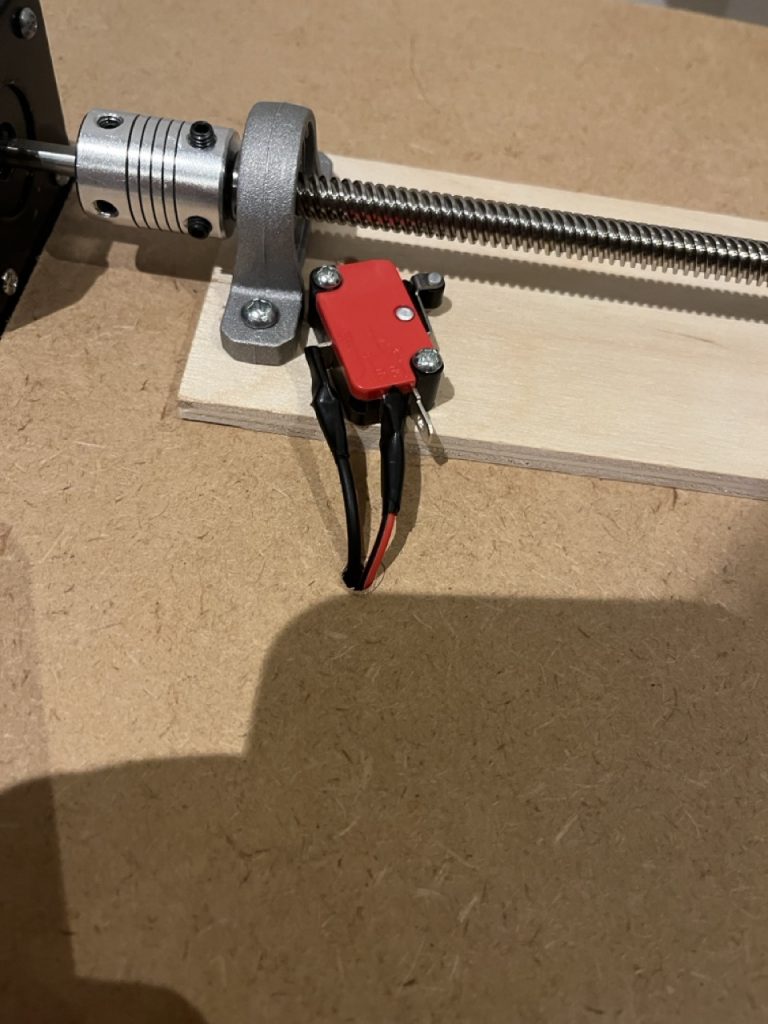
To find the correct angle, I temporarily removed the bracket that connects the carrier block to the rail and manually moved the carrier block along the rail. Once I found an angle at which the switch could be pressed smoothly, I marked the mounting position and drilled the holes.
I originally planned to run a motor test today as well, but the bolts I have are too short to hold the limit switch firmly in place. Because of this, the switch cannot be securely mounted yet. I’ve ordered longer bolts, and once they arrive tomorrow, I will fix the limit switch properly and assemble the circuitry on the back panel. I also plan to think about where to install the amplifier and interface needed to drive the speaker, and complete their installation as well.