I finally got all the steel plates drilled, and now I’m going to combine all the parts, including the speakers and the steel plates, to see if the 12 speakers will work with the cord I wove.
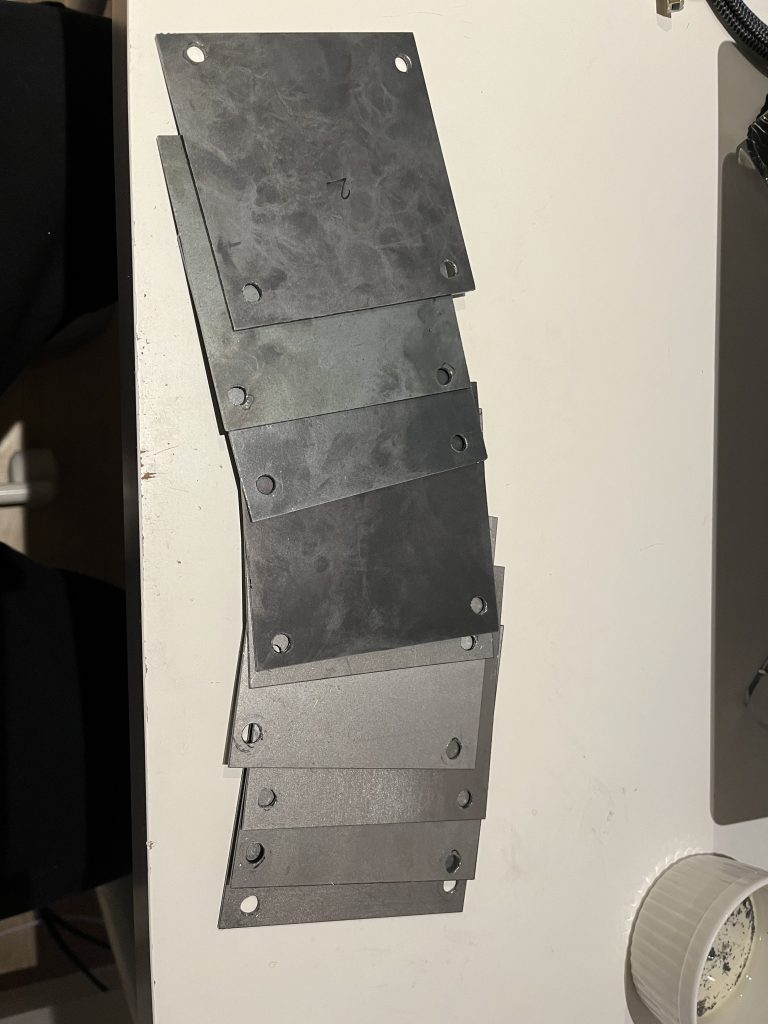
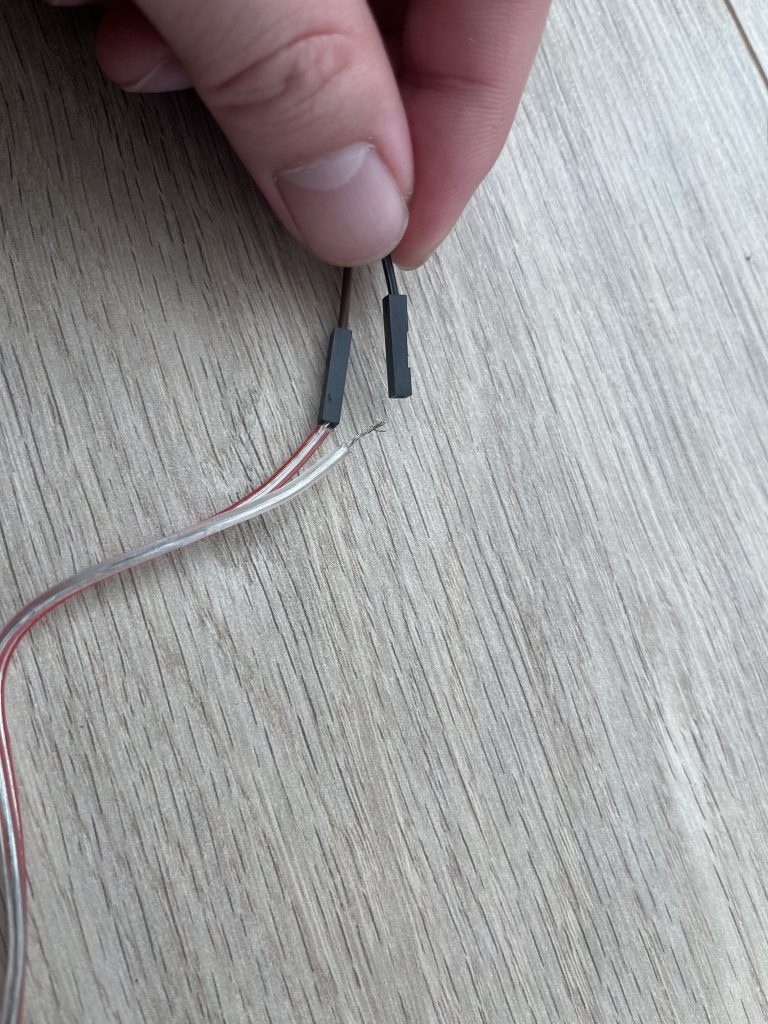
Firstly I joined the speakers and all the steel plates together, unfortunately I was a bit short of M4 size nuts so I couldn’t fully join two of the speakers. This will be fixed tomorrow when the nuts arrive and I will proceed with the assembly. I am going to hang the speakers from the ceiling, so I need a long jumper cable. Originally I was going to use male to male and female to female jumper cables to extend the length, but I had a pretty long cable that came with the speakers. The cables need to be stripped and will probably need solder or insulation tape to make a stable connection. I’ll try the insulation tomorrow and if it works, I’ll use it, otherwise I’ll continue with my original plan.
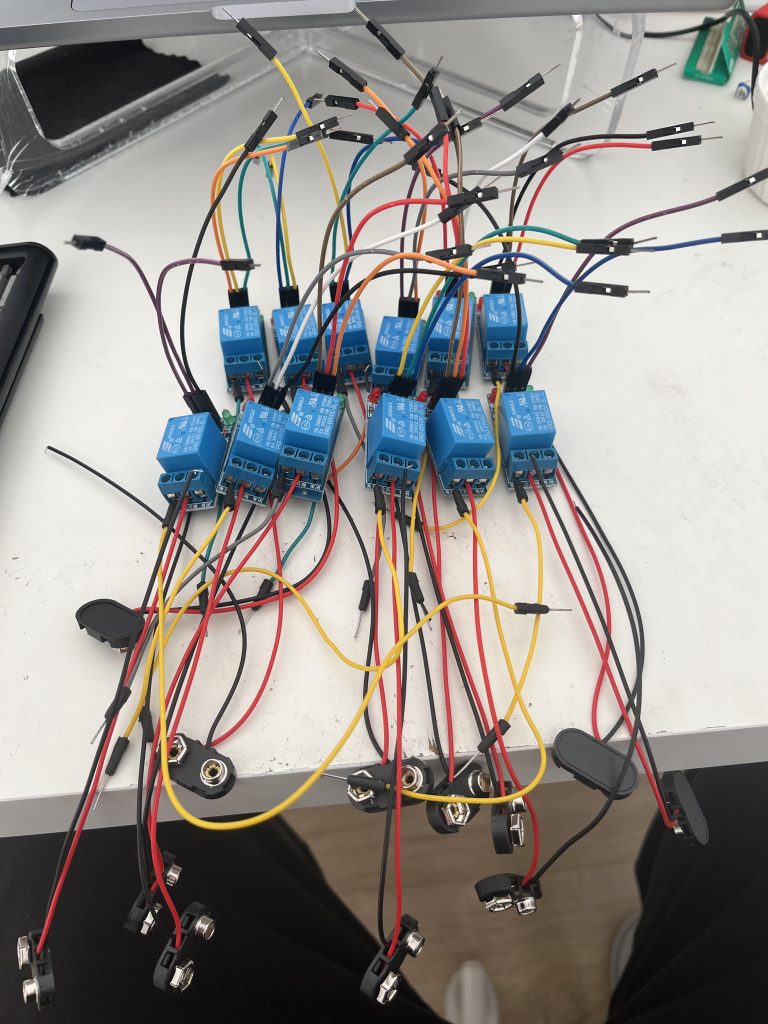
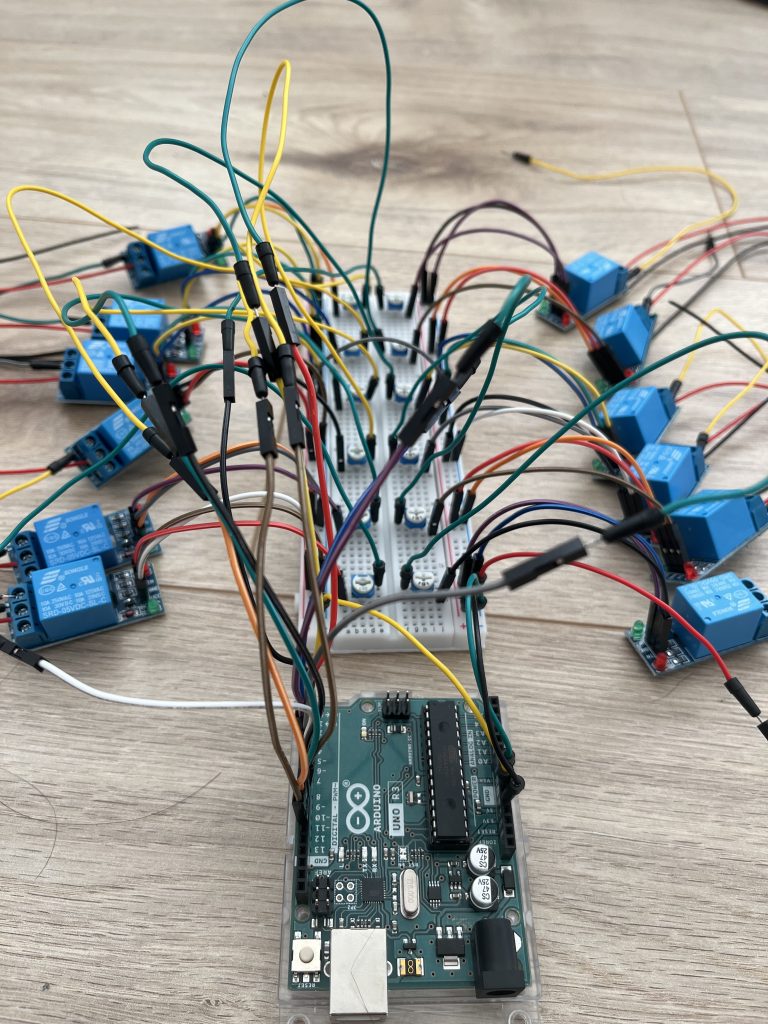
Joining the breadboard is not difficult in itself. It’s just a matter of making the 12 connections in the same way as before and then connecting them to the digital pins of the Arduino. First, connect all 12 relay modules to the battery connector and jumper cables, and then connect all 12 relay modules to the breadboard. Then connect the resistors and jumper cables to the Arduino, and finally connect the speakers to the breadboard and relay modules.
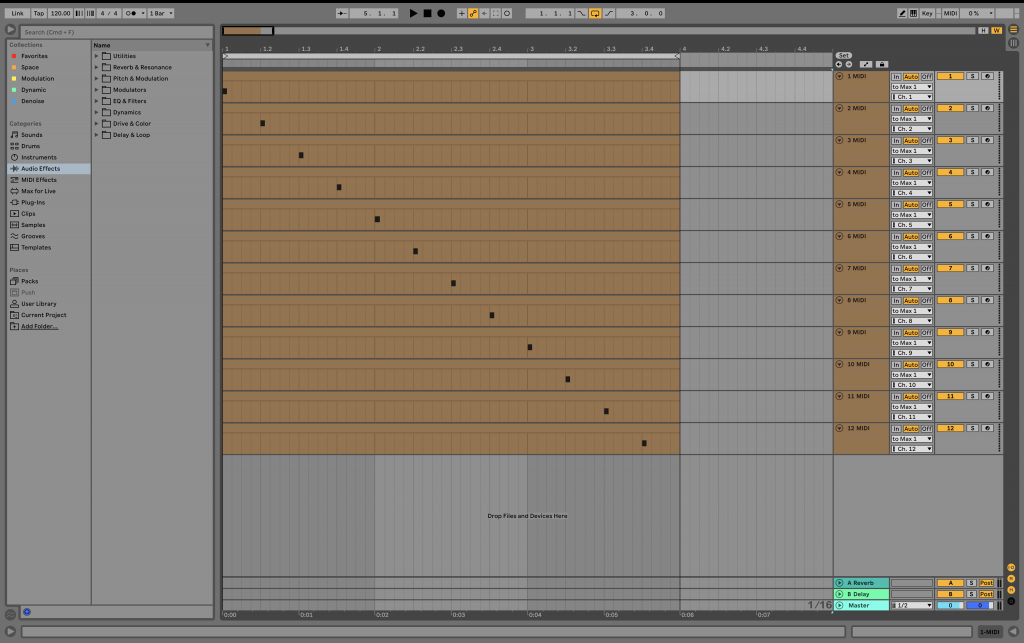
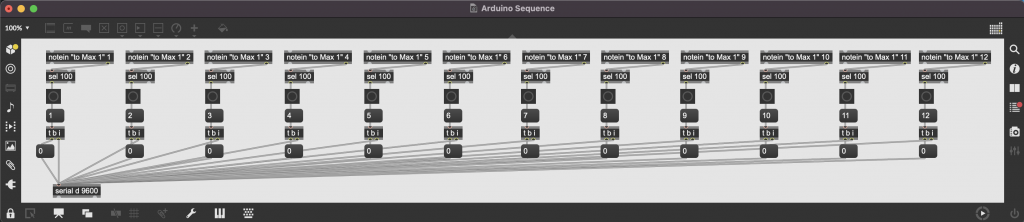
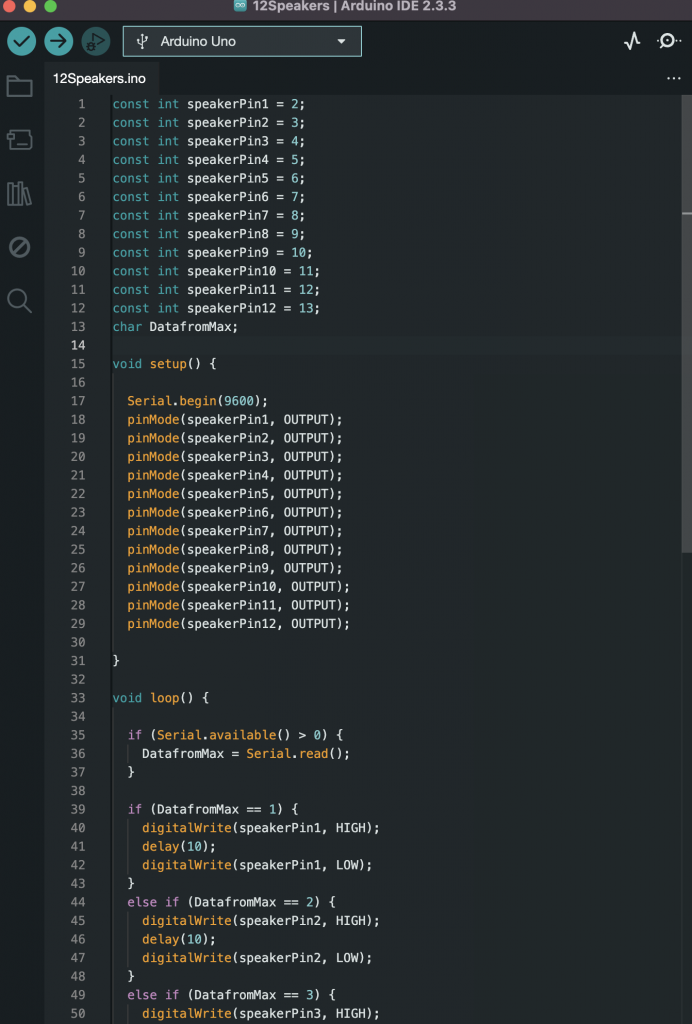
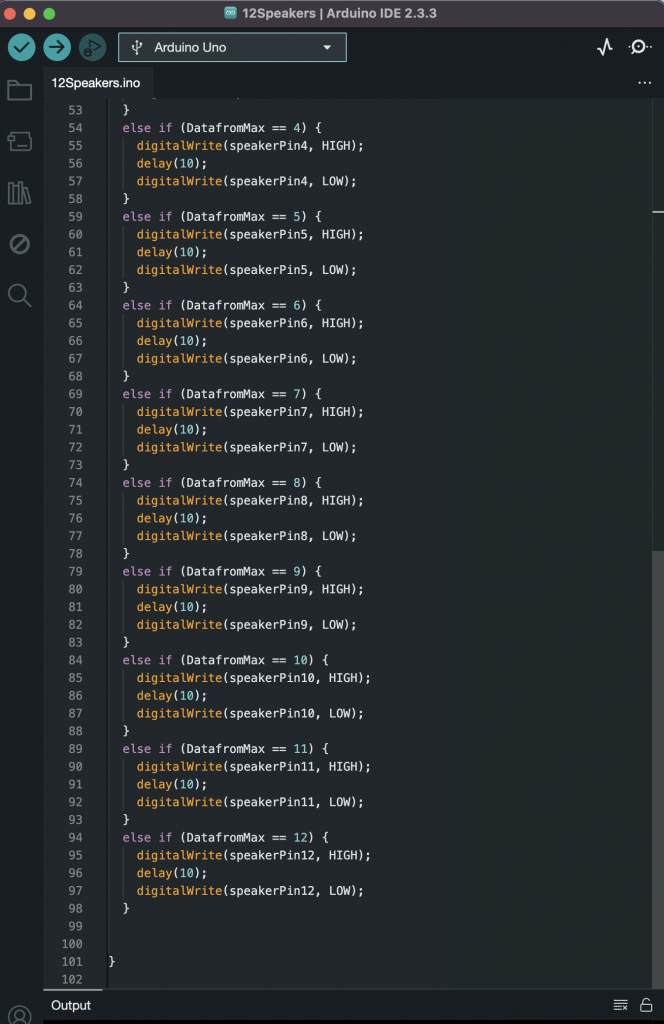
The code was created using three different tools: Ableton Live, Max/MSP, and Arduino. Firstly, we send MIDI signals from Ableton to Max via 12 channels. In Max, I use a ‘notein’ object to receive the midi signal and send it to the Arduino via a Serial object. This allows me to write down the time signature I want in Ableton and play it on the speakers I want at the time signature I want. Now I send this code to the Arduino to experiment.
As usual, it was a failure. I thought it might be a connection problem, so I listened closely and found that the current to the speaker was low when I touched it with my finger, which means that the current to the speaker is not enough to make the plate bounce properly. I wondered if the extended jumper cables were causing power loss, so I removed all the extended jumper cables and connected the speaker as close as possible to the breadboard, but the problem was not solved. I also wondered if the breadboard had too many jumper cables connected to it and the Arduino could not handle it, so I experimented with connecting the battery directly to the speaker, but the sound did not work. It was weird. In the first place, if you connect the battery and speaker directly, there should be sound unconditionally, which means that there is a problem with the speaker, the jumper cable, or the battery. First of all, I had a battery from another manufacturer that I had used before, so I tested it with another battery, and it worked perfectly. It was the battery. However, the only thing that is different about the same 9v battery is the manufacturer, so I wondered if the battery was defective, so I looked for information, and there was a difference in the material that makes up the battery.
The problematic batteries were 6F22, which means they have 6 cells (6), carbon-zinc (F), and a rectangular shape (22). All of the batteries that didn’t have problems are identical, with only one difference: they are made of alkaline. 9v batteries are usually made of three materials: carbon-zinc, alkaline, and lithium. The further back you go, the more expensive they get (lithium can cost as much as £10 a pop), but they have a good output and a long lifespan, meaning that the speaker didn’t work properly because my batteries were carbon-zinc, which means they either had low output, or they were already at the end of their lifespan (of course, they were too new to be at the end of their lifespan already, so I’m pretty sure they had low output). The only thing that’s a little strange is that I’ve been experimenting well with this battery so far. I’ll have to make a smaller connection with the same battery later and run the experiment again.
Tomorrow I’ll try insulation tape to see if it makes it easier to connect the jumper cables, and I’ll also try alkaline batteries to see if they work as well. I’ll also have to connect the speakers I haven’t yet done when the nuts arrive. And I’ll spend the rest of the time composing how I’m going to sequence the speakers.